Part 11: Inserting Images
⏳ Training Duration: 1.5 Hours
🎯 Level: Beginner
🧠 Method: Theory & Practice
📦 Format: Interactive (offline/online)
📌 Requirements: Basic text formatting knowledge
🎯 Objective: Participants will be able to insert and manage images in a document effectively.
💡 Using images and charts in Word is not just about decoration. With the right visuals, information becomes easier to understand, more professional, and leaves a stronger impression on readers. Let’s learn practical steps to insert visuals that make your document stand out!
Images and charts make documents more engaging and easier to understand. Word provides features to insert images from your device and create charts for numerical data.
In this section, you will learn two important visual features: inserting images and inserting charts. Both help improve the appearance and clarity of your document.
1. Inserting Images
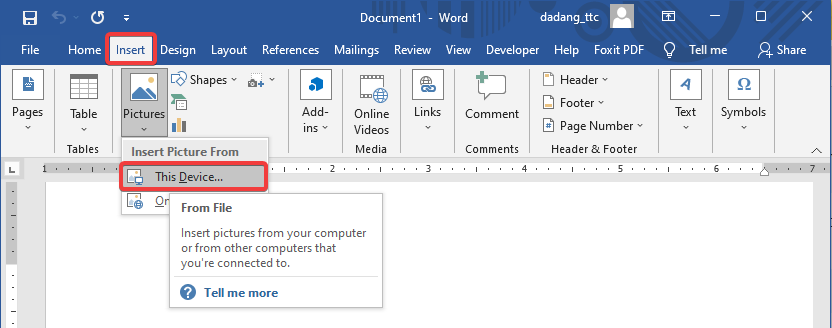
- Click the Insert tab.
- Select Pictures then This Device.
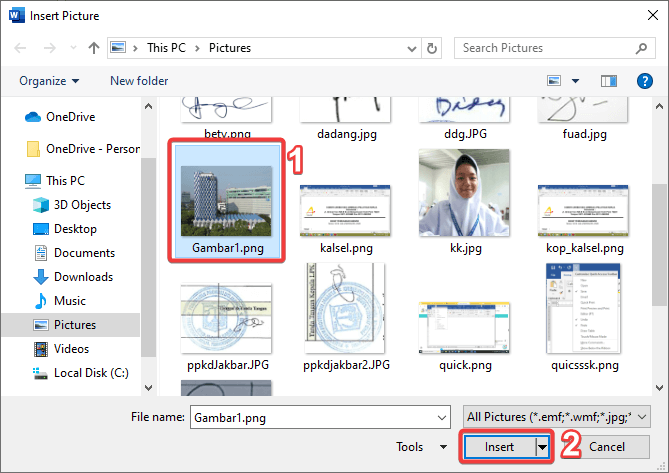
- Choose an image from your computer.
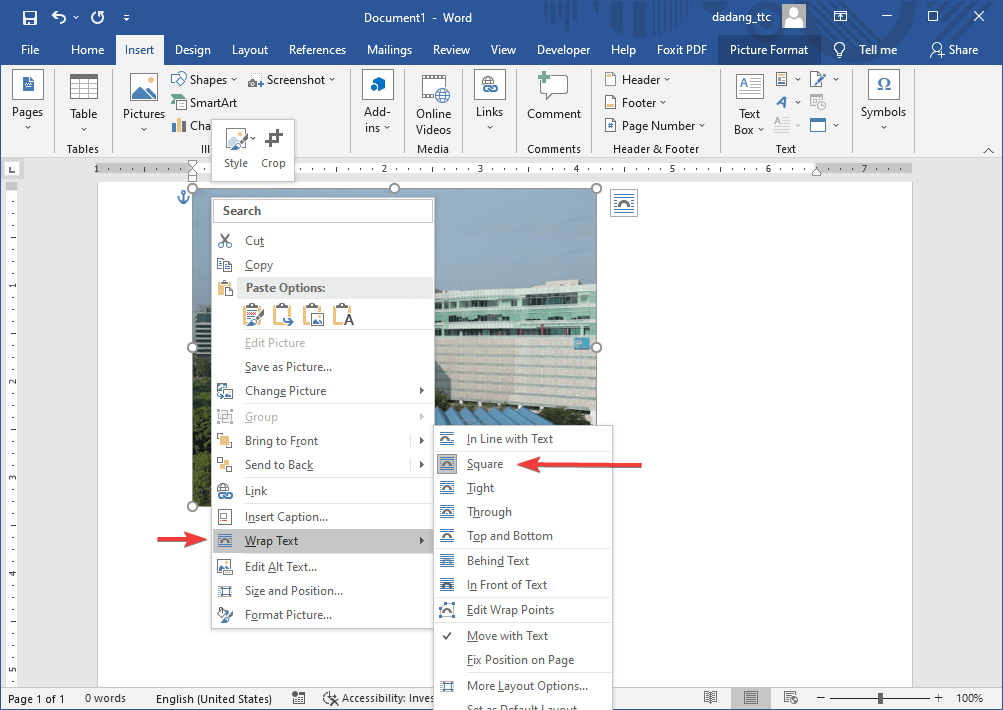
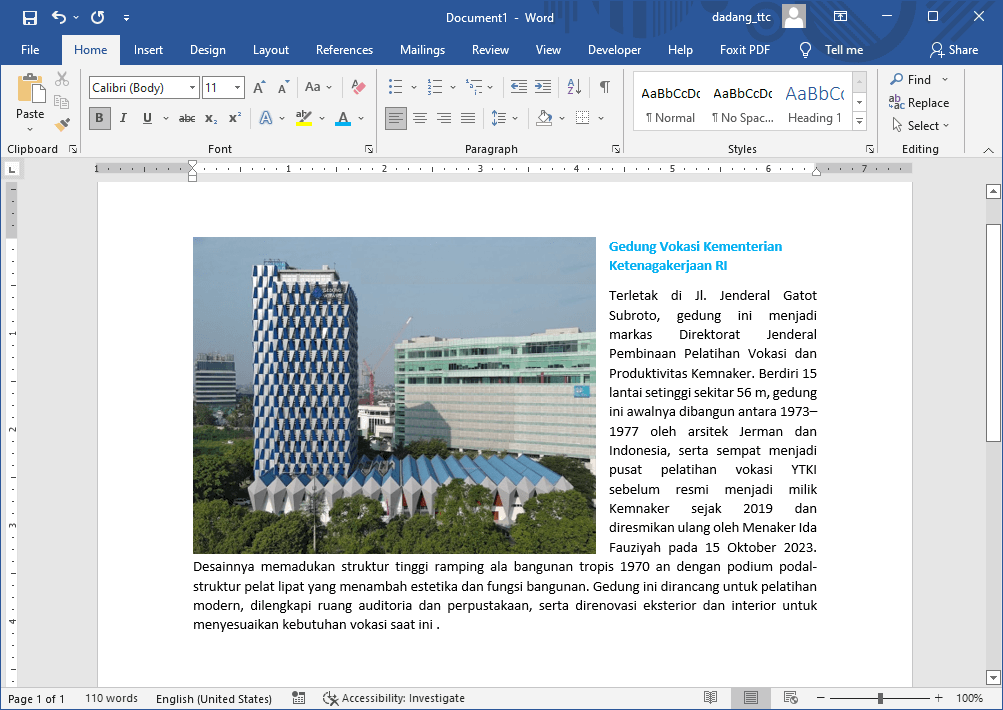
- Adjust position, size, and wrap text as needed.
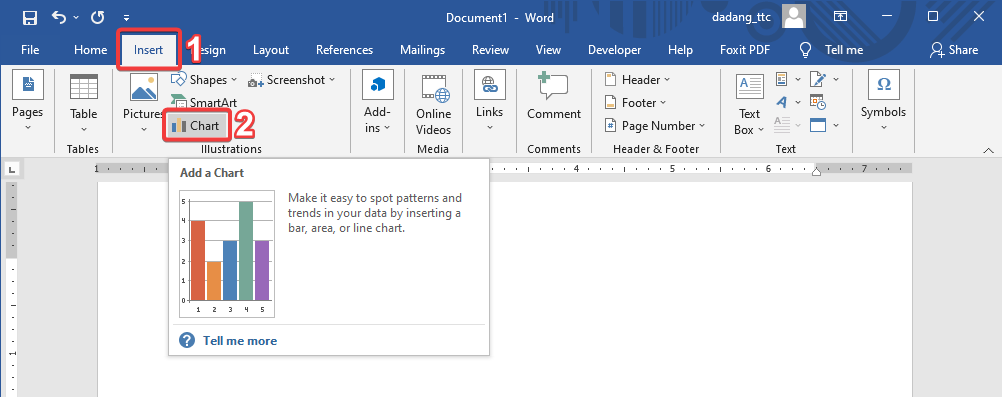
2. Inserting Charts
- Click the Insert tab.
- Select Chart.
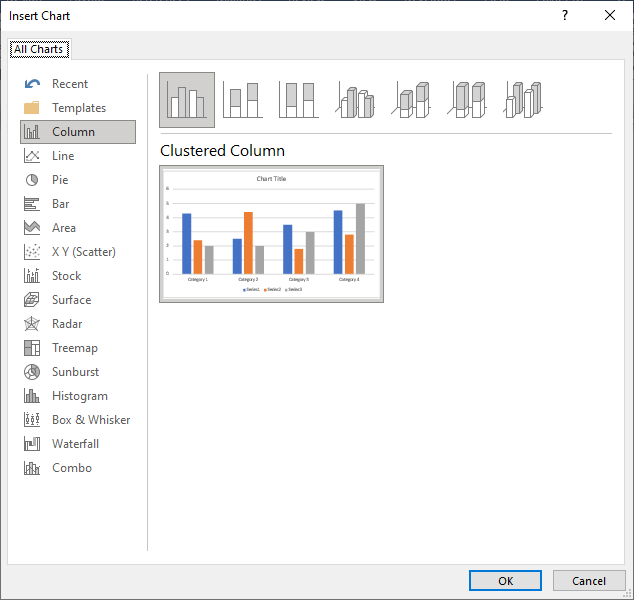
- Choose a chart type such as Column, Line, Pie, etc.
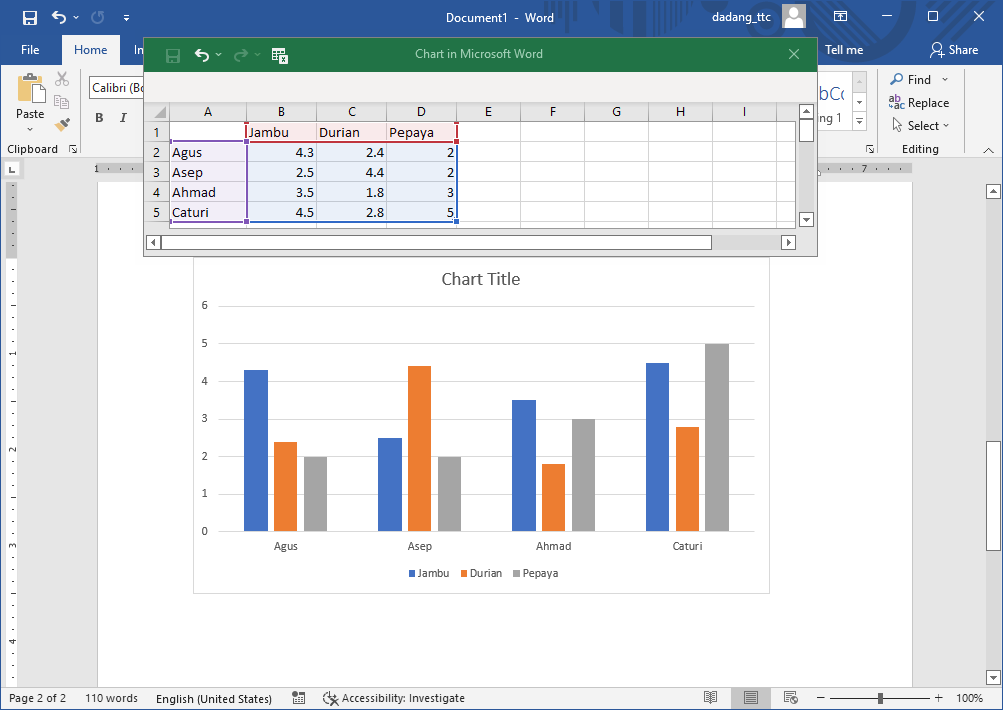
- Enter data in the Excel window that opens automatically.
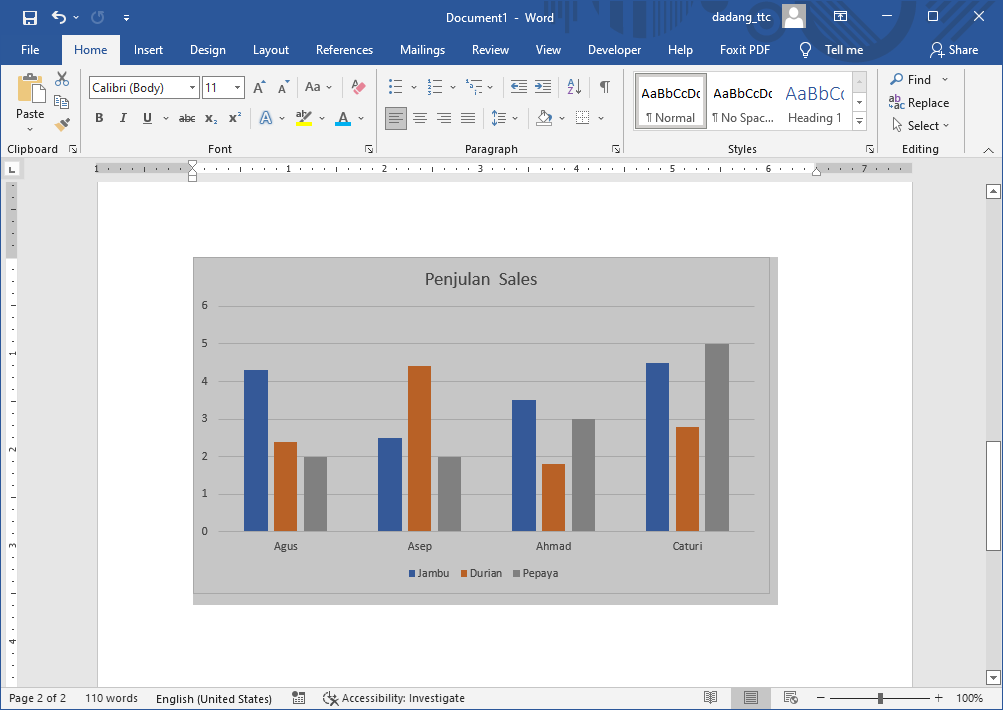
- The chart will appear and can be customized.
3. Inserting Screenshots (Screen Clipping)
This feature is very useful for capturing screens such as applications, websites, or reports without leaving Word.
- Click the Insert tab.
- Select Screenshot.
- Choose an available window or click Screen Clipping.
- Select the screen area you want.
- The image will automatically be inserted into your document.


Use this feature for tutorials, reports, or documentation evidence to make your work more professional.
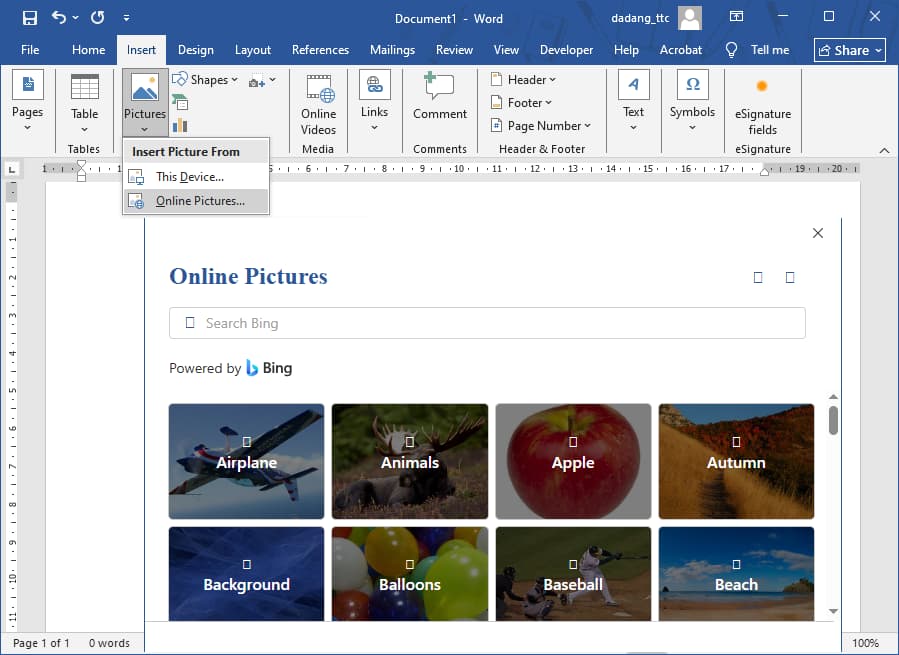
4. Inserting Images from the Internet (Online Pictures)
Besides using local images, you can also insert images directly from the internet.
- Click the Insert tab.
- Select Pictures → Online Pictures.
- Enter a keyword.
- Select an image, then click Insert.
Use royalty-free images or for educational purposes to avoid copyright issues.
5. Inserting Online Video (YouTube)
You can also insert YouTube videos into Word documents to make your content more interactive.
- Click the Insert tab.
- Select Online Video.
- Paste the video link:
https://www.youtube.com/shorts/tUEaW0bMxBc - Click Insert.
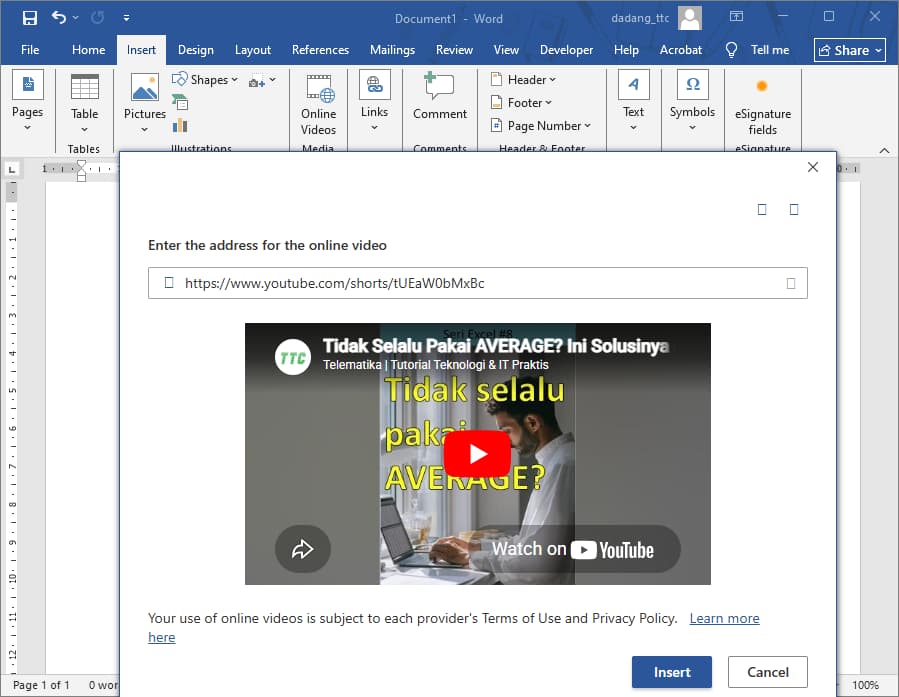
⚠️ Make sure your computer is connected to the internet when using this feature.
Use videos in training materials, guides, or presentations to make them more engaging and easier to understand.
With video, your Word document becomes more than just text—it turns into a rich visual learning experience.
📝 Practice:
- Insert one image from your computer and apply Wrap Text.
- Create a column chart.
- Use Screenshot to capture a screen.
- Insert one image using Online Pictures.
📌 Conclusion
In this section, we learned how to insert various visual elements in Microsoft Word, including images, charts, screenshots, and online videos.
- 📷 Insert images to enhance document clarity.
- 📊 Use charts to present data visually.
- ✂️ Capture screenshots directly without extra tools.
- 🌐 Insert images from the internet.
- 🎬 Add YouTube videos for interactivity.
By combining these features, Word documents become more engaging, professional, and easier to understand.
In today’s workplace, it’s not enough to just type—you need to present information visually. This skill will make your work stand out.
🚀 Ready to Level Up?
Next, we’ll learn Shapes & SmartArt to create professional diagrams and visuals in Word!