Adding Shapes & SmartArt in Word – A Step-by-Step Guide for Beginners
⏳ Training Duration: 1.5 Hours
🎯 Level: Intermediate
🧠 Method: Theory & Practice
📦 Format: Interactive (offline/online)
📌 Requirements: Basic understanding of images and layout settings
🎯 Objective: Participants will be able to use Shapes and SmartArt to enhance visual communication.
💡 Quick Tip: Use SmartArt for complex flows, Shapes for simple diagrams. Use the Format tab for a professional look.
Word provides Shapes and SmartArt features to visually organize information. Shapes are ideal for simple diagrams, while SmartArt is used for organizational structures, processes, cycles, and more.
In the workplace, documents are not only judged by content but also by how the information is presented. Long explanations are easier to understand when visualized as diagrams or structures. This is why Shapes and SmartArt are essential tools for creating professional and communicative documents.
✨ SmartArt is like a magic wand in Word! With just a few clicks, plain information can transform into clear, structured, and visually appealing diagrams. It not only enhances aesthetics but also helps readers understand the flow of information quickly. Your document can look like a professional presentation—without needing graphic design skills.
👉 With SmartArt, information becomes visual and easier to understand.
⚖️ Differences Between Shapes and SmartArt
| Aspect | Shapes | SmartArt |
|---|---|---|
| Usage | Manual (created one by one) | Automatic (ready-made templates) |
| Ease of Use | Requires manual adjustment | Faster and more practical |
| Function | Simple diagrams / flexible design | Structured and complex diagrams |
| Examples | Manual flowcharts, arrows, boxes | Org charts, processes, cycles |
📌 Why is this important?
In daily work, we often need to explain ideas or workflows. Using only text can be overwhelming. Shapes and SmartArt help simplify information into visuals that are easier to understand.
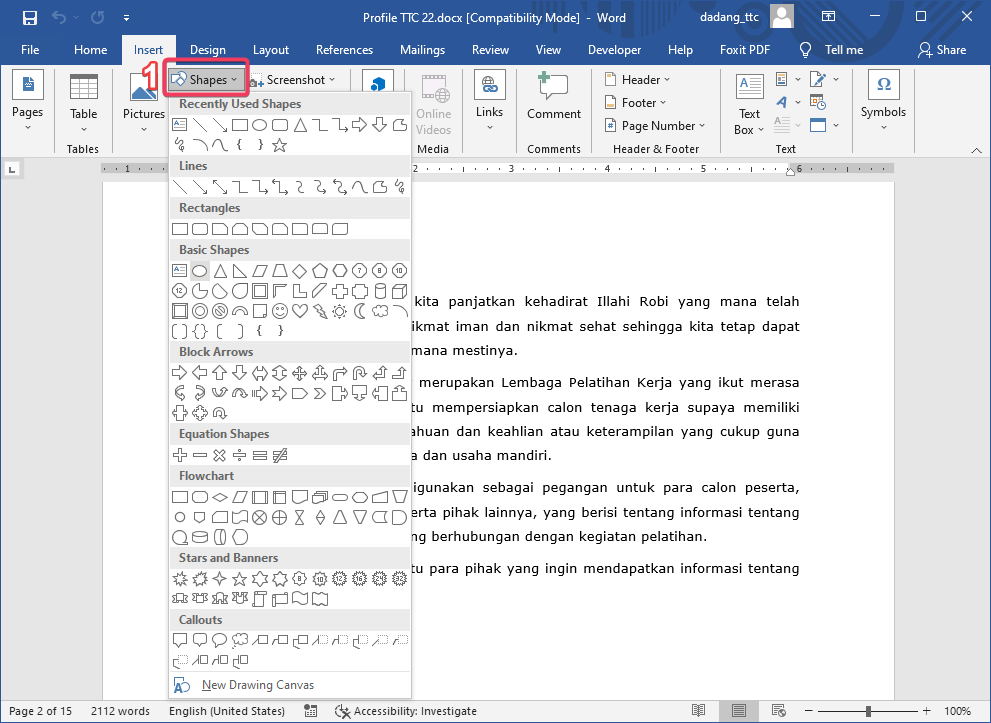
Adding Shapes
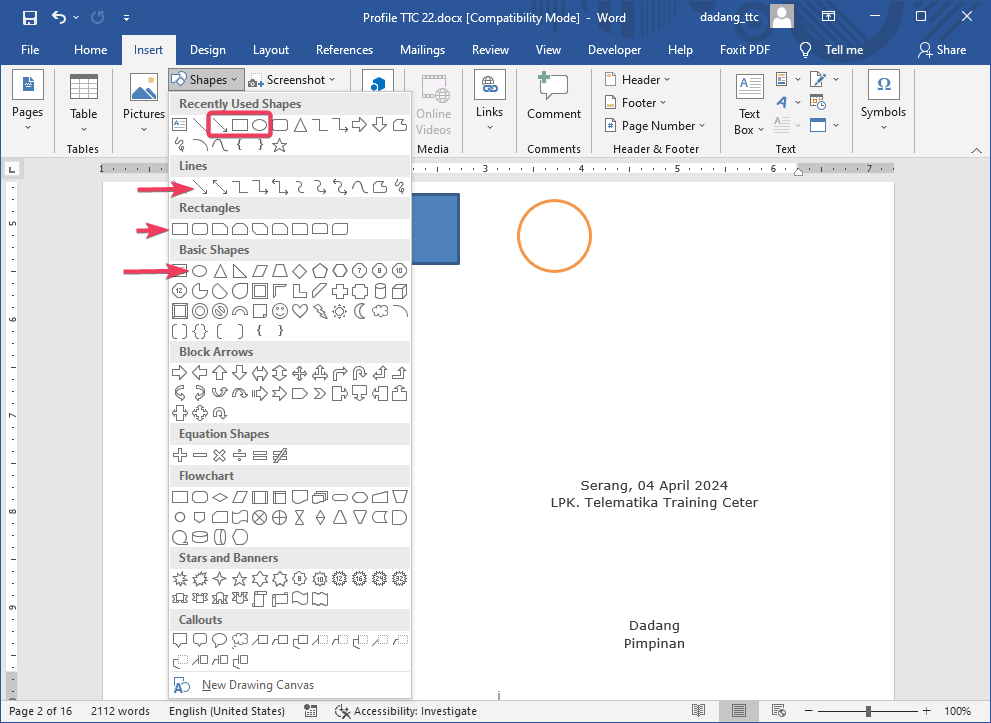
- Click the Insert tab.
- Select Shapes, then choose a shape (arrow, rectangle, circle, etc.).
- Click and drag on the document to draw the shape.
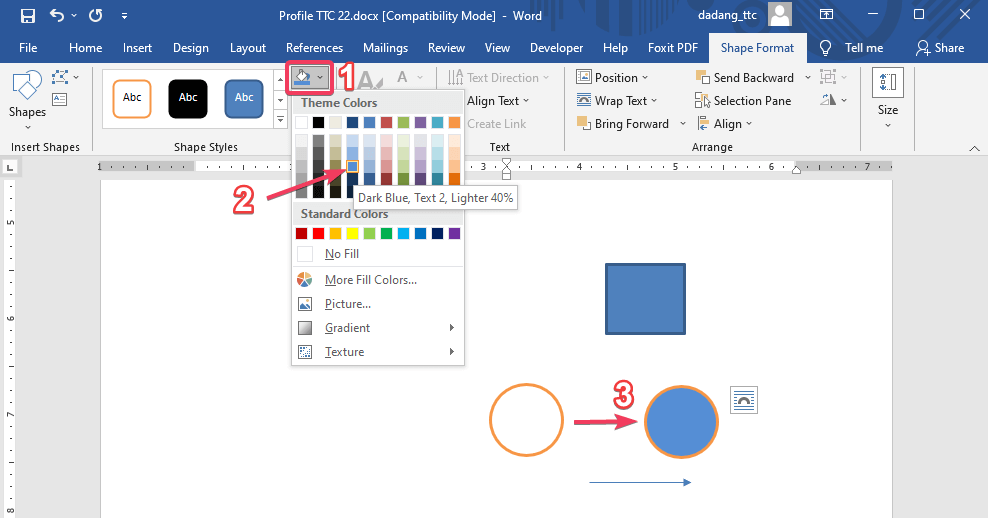
- Use the Format tab to customize color, size, and effects.
📌 Types of Shapes and Their Functions
- 📐 Basic Shapes: Used for simple elements like rectangles or circles.
- ➡️ Block Arrows: Used to show direction or flow.
- 🔀 Flowchart: Used for process diagrams and workflows.
- ⭐ Callouts: Used for annotations or explanations.
- 🔷 Stars and Banners: Used for highlighting important information.
- ➰ Lines: Used to connect elements.
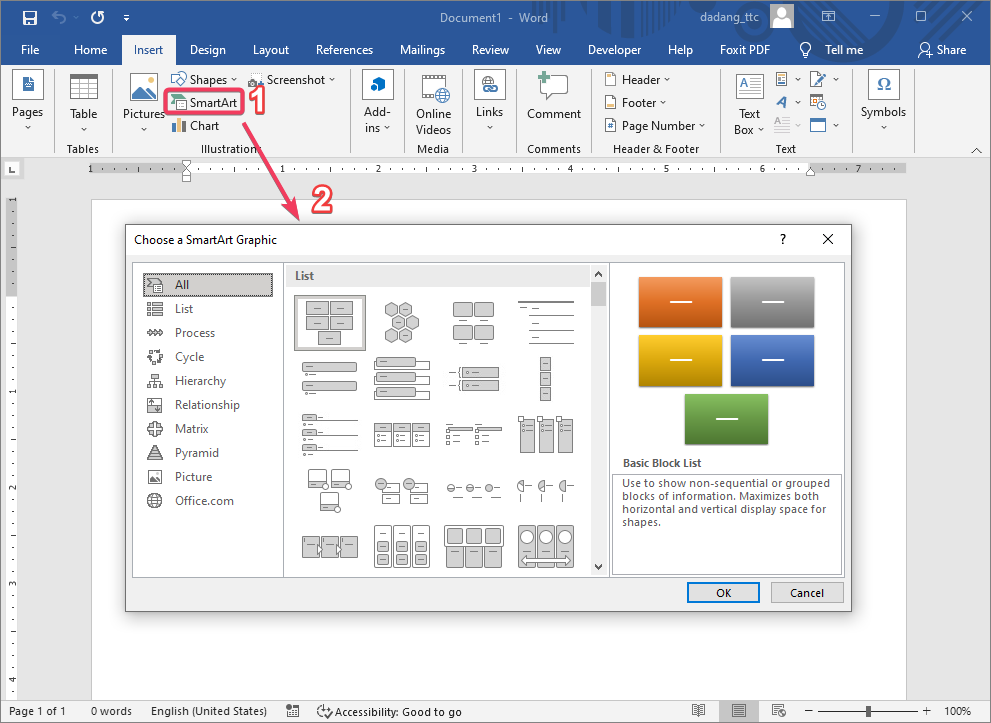
Adding SmartArt
- Go to Insert → SmartArt.
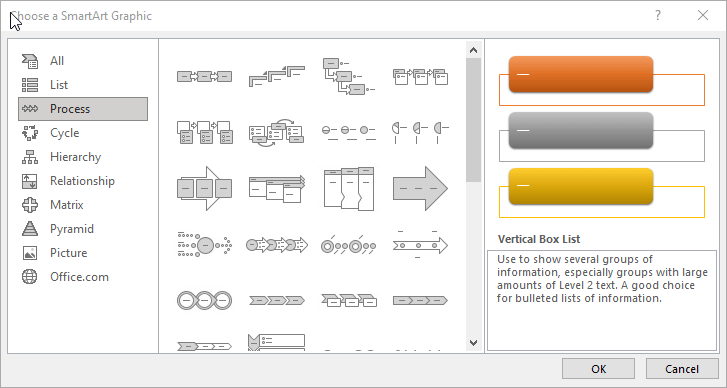
- Select a category such as List, Process, Cycle, or Hierarchy.
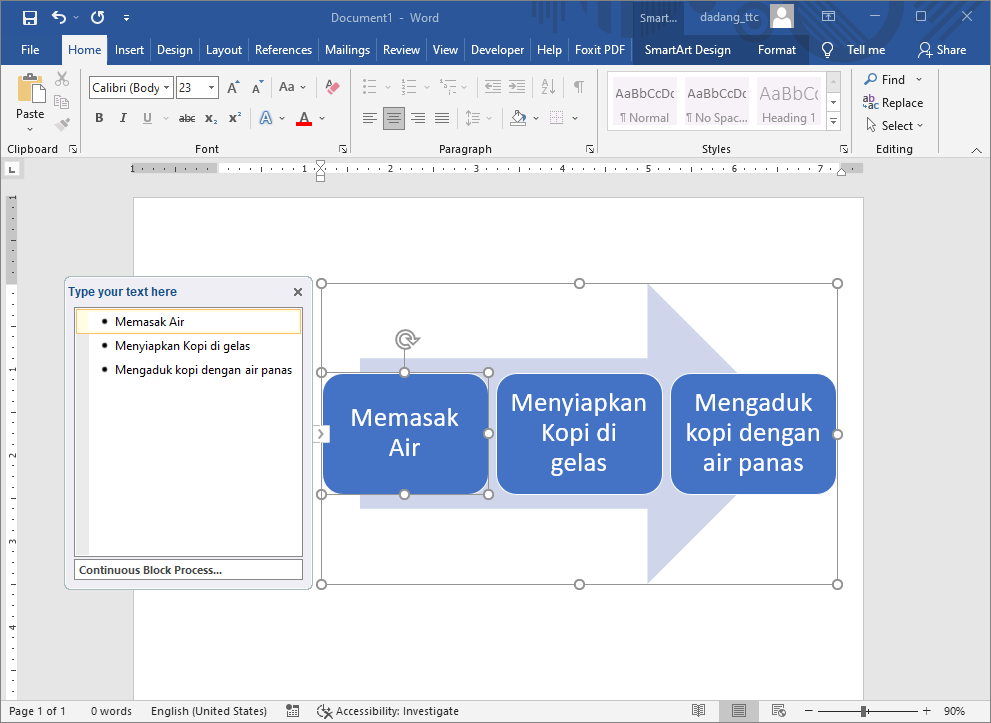
- Click OK and enter text.
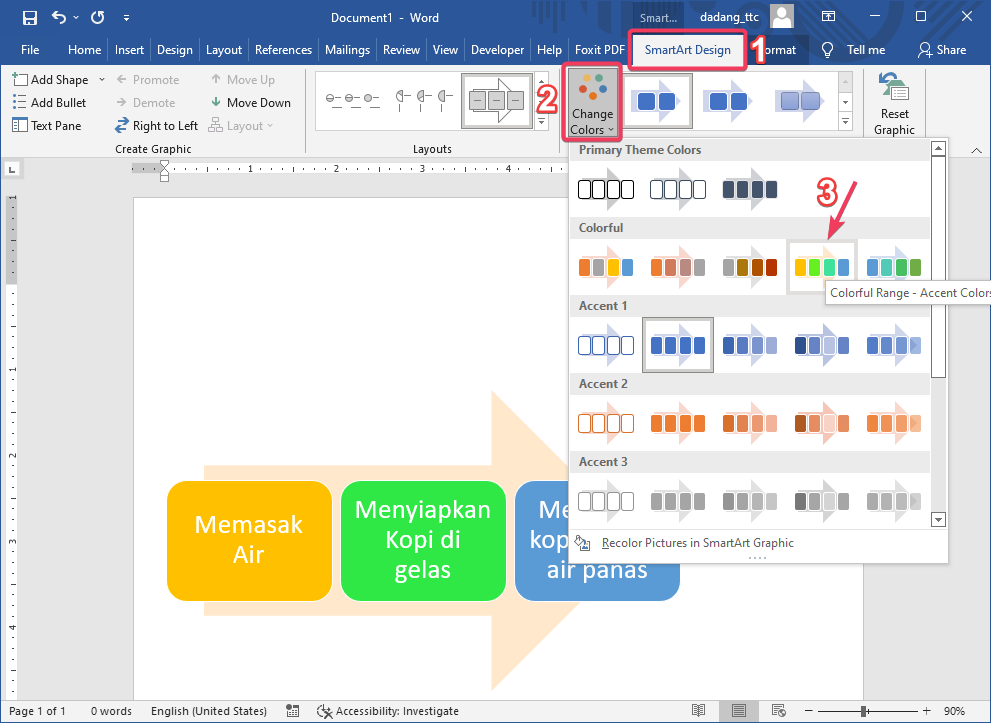
- Use Design and Format tabs to customize.
- Using too many colors
- Mixing too many shape styles
- Using the wrong SmartArt type
- Poor alignment
Conclusion
Shapes offer flexibility, while SmartArt provides quick and structured visual diagrams.
- Use 2–3 main colors
- Use Align feature for neat layout
- Use Shape Styles for quick design
- Use SmartArt for professional reports
📝 Practice:
- Insert a blue shape.
- Create a SmartArt process with 3 steps.