Part 5: Page Setup in Word
⏳ Duration: 2 Hours
🎯 Level: Beginner
🧠 Method: Theory, Case Study
📦 Material Format: Interactive (offline/online)
📌 Prerequisites: Basic document and text knowledge
🎯 Objective: Participants can set margins, paper size, and page orientation.
Page setup is essential to make documents look neat and meet requirements, especially for printing or official submission.
Understanding page setup ensures documents look professional and are comfortable to read. Adjusting margins, orientation, and paper size also prevents text from being cut off when printing or compiling official reports. Mastering this feature speeds up creating well-formatted, standard-compliant documents.
In practice, page setup in Microsoft Word is frequently used for school reports, proposals, theses, official letters, and office administrative documents. Knowing how to set margins, orientation, and paper size correctly ensures documents meet print standards and look professional. This tutorial has been updated to stay relevant with the latest Microsoft Word versions.
Page Setup Elements
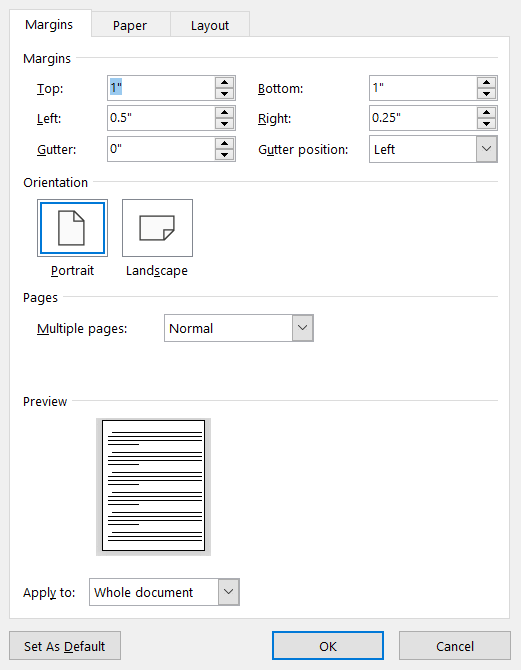
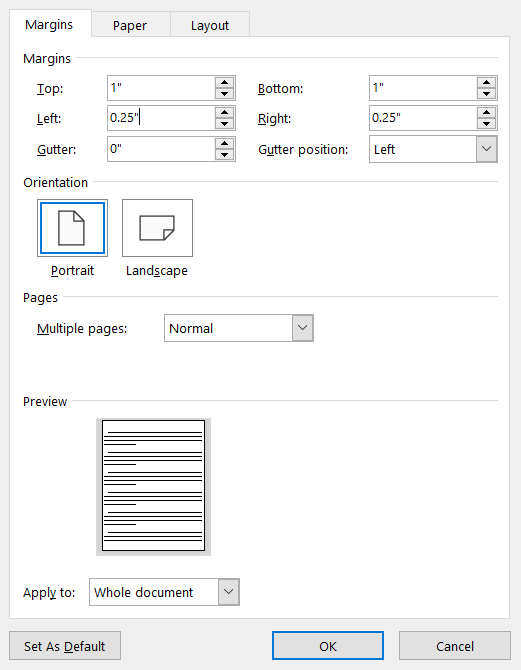
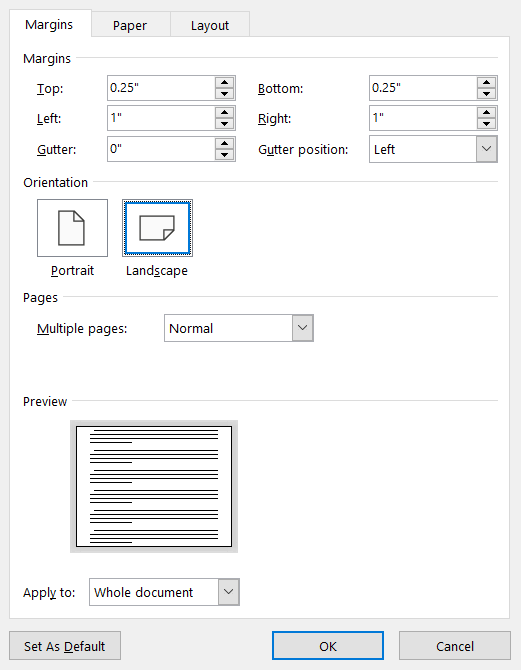
- Margins: Distance between the page edge and content. Adjust via Layout > Margins.
- Orientation: Choose between Portrait (vertical) or Landscape (horizontal).
- Paper Size: Examples: A4, Letter, Legal, changeable via Size menu.
Change Measurement Units (Inch to CM)
By default, Microsoft Word uses inches. In Indonesia, we often use centimeters (cm) or millimeters (mm).
To simplify margin and paper size settings, change units to cm.
Steps to Change Units in Word:
- Click File
- Select Options
- Go to Advanced
- Scroll to Display section
- Under Show measurements in units of, select Centimeters
- Click OK
If units are still in inches, 1-inch margins appear as 2.54 cm. Converting to cm makes document formatting easier in Indonesia.
Many users enter margin numbers without realizing the unit is inches, resulting in too large or small margins.
👉 Ensure units are in cm before adjusting margins or paper size.
Advanced Layout Features
- Columns: Split text into multiple columns like a newspaper or magazine.
- Breaks: Separate pages or document sections (Page Break, Section Break).
- Line Numbers: Display line numbers in the document.
- Hyphenation: Automatically hyphenate words at line ends for neat alignment.
These features are often used in complex documents such as official reports, books, or research papers.
Brief Explanation of Each Feature
- Columns: For newspaper-style layout, suitable for brochures or newsletters.
- Breaks:
- Page Break: Move to new page
- Section Break: Separate sections with different formatting
- Line Numbers: Often used in legal documents or scripts.
- Hyphenation: Helps justify text without large spacing.
Practical Examples
- Proposal: Use standard A4 margins and size.
- Brochure: Use Columns for an attractive layout.
- Thesis/Report: Use Section Breaks to separate chapters.
- Official Documents: Use Line Numbers for reference.

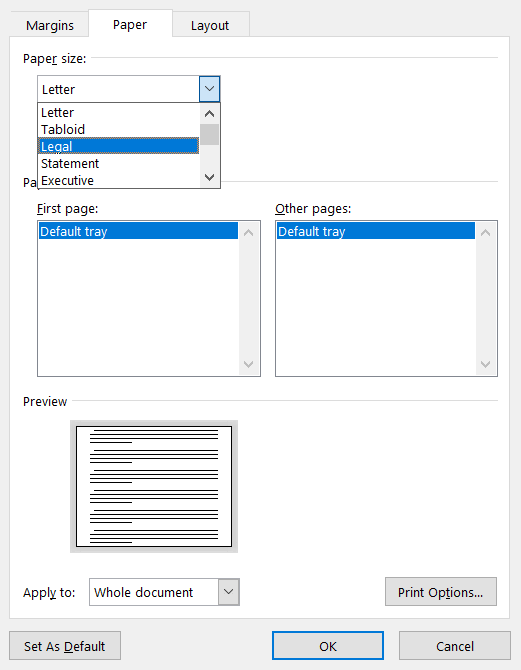
Common Paper Sizes
Here are common paper sizes in Microsoft Word and printing:
- A4 (21 x 29.7 cm): Most standard and frequently used.
👉 Used for: reports, official letters, school assignments, theses, office documents. - F4 / Folio / Quarto (21 x 33 cm): Common in Indonesia, often called "long paper".
👉 Used for: administrative documents, reports, office archives. - Letter (21.59 x 27.94 cm): International standard, mainly US, slightly shorter than A4.
👉 Used for: international documents or foreign templates. - Legal (21.59 x 35.56 cm): Longer than F4, commonly for legal documents.
👉 Used for: contracts, legal documents, long archives. - A5 (14.8 x 21 cm): Smaller than A4.
👉 Used for: small books, brochures, notes, invitations. - Custom Size: Set manually for specific needs.
👉 Used for: special designs like cards, labels, or custom print sizes.
(Not covered in this basic tutorial)
In Indonesia, A4 and F4 (Folio/Quarto) are most used. However, not all printers have F4 by default, so ensure Word settings match available paper.
👉 If in doubt, use A4 as a safe default since it's most compatible with printers and official documents.
Conclusion
Page setup in Microsoft Word is crucial for neat, professional documents. Understanding margins, orientation, paper size, and advanced features like columns and breaks allows full control over document layout.
Proper use of these features makes documents readable, standard-compliant, and ready for personal or professional use.
- Use standard margins if no special rule
- Choose orientation based on document needs
- Use columns for brochure-style layout
- Use breaks to organize pages and sections
Users often start typing without checking paper size. When printing, Word size may differ (e.g., Word set to A4 but printing on F4/Quarto).
- Text may be cut off
- Layout may shift
- Document becomes messy
📝 Exercise:
- Open a document you created earlier.
- Change margins to Narrow and orientation to Landscape.
- Change paper size to Legal (21.59 x 35.56 cm).