Part 3: Saving & Protecting Word Documents
⏳ Training Time: 30 Minutes
🎯 Level: Beginner-Intermediate
🧠 Method: Theory & Hands-On Practice
📦 Material Format: Offline & Online
🎯 Goal: Participants can save documents in various formats and protect content.
At this stage, we learn how to save documents correctly and protect them. Many Word users often forget that proper saving and document protection are crucial for daily file management. By understanding format choices, export features, and password protection, we can ensure documents remain organized, secure, and ready for sharing. This material is especially important for participants preparing reports, proposals, or official documents.
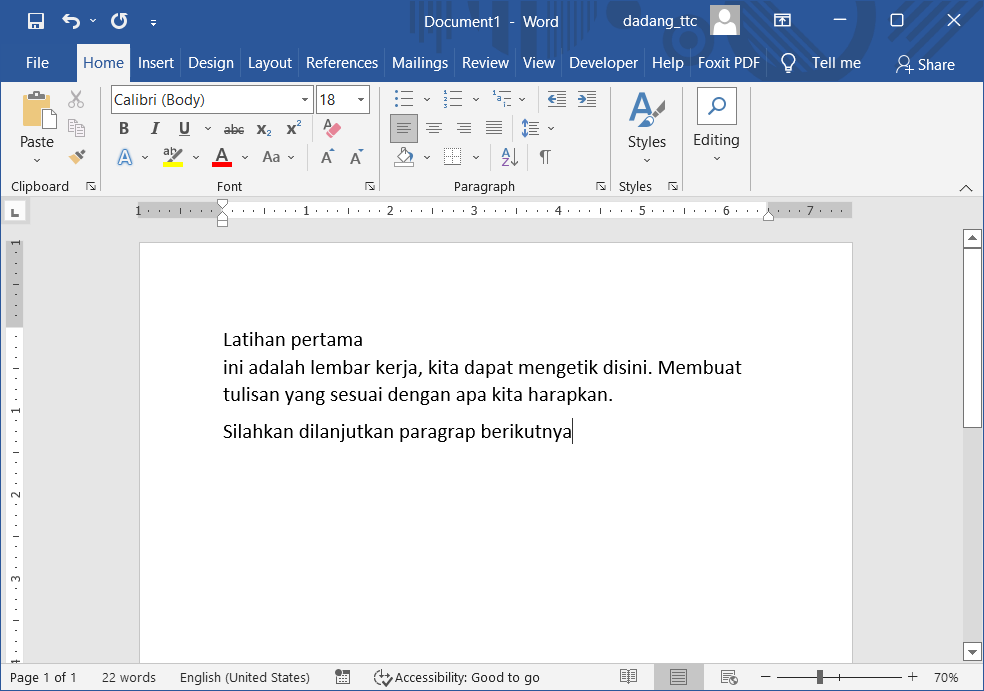
Saving Documents (Basic Steps)
After creating a document, the most important step is to save it. Unsaved work can be lost at any time.
- Click File > Save or press Ctrl + S.
- Choose storage location and enter a file name.
- Ensure the file format is
.docx.
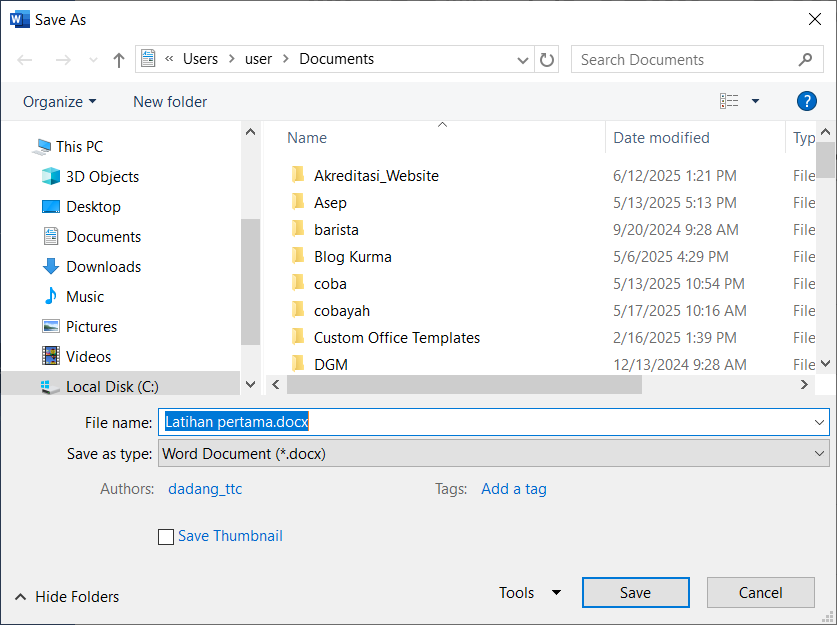
Latihan_pertama.docx. Ensure .docx format is selected, then click Save. The file will be saved at the chosen location and can be reopened anytime.
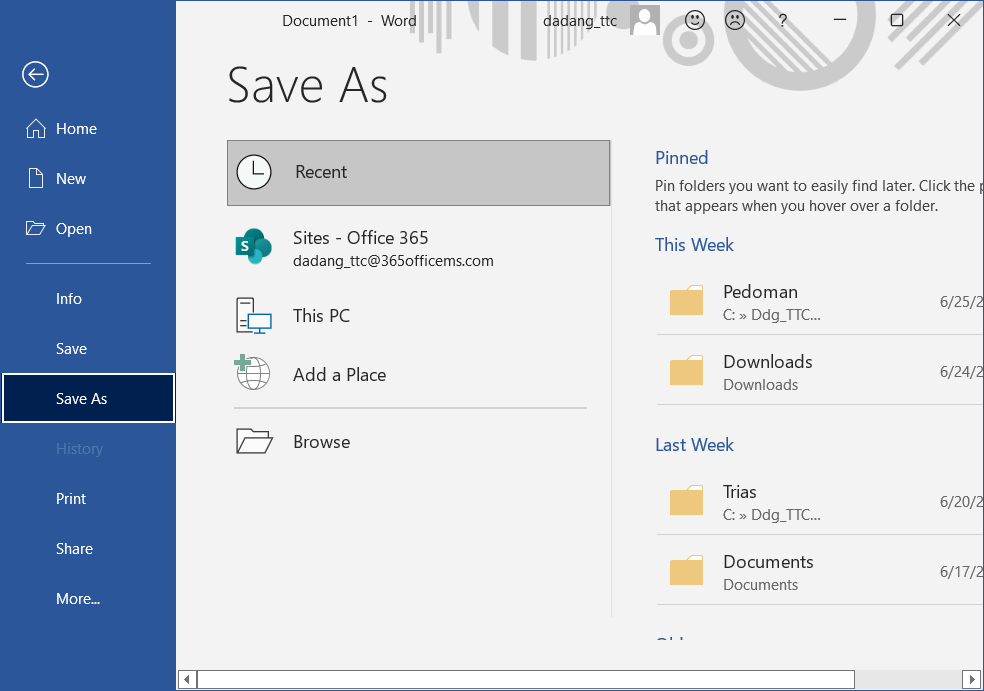
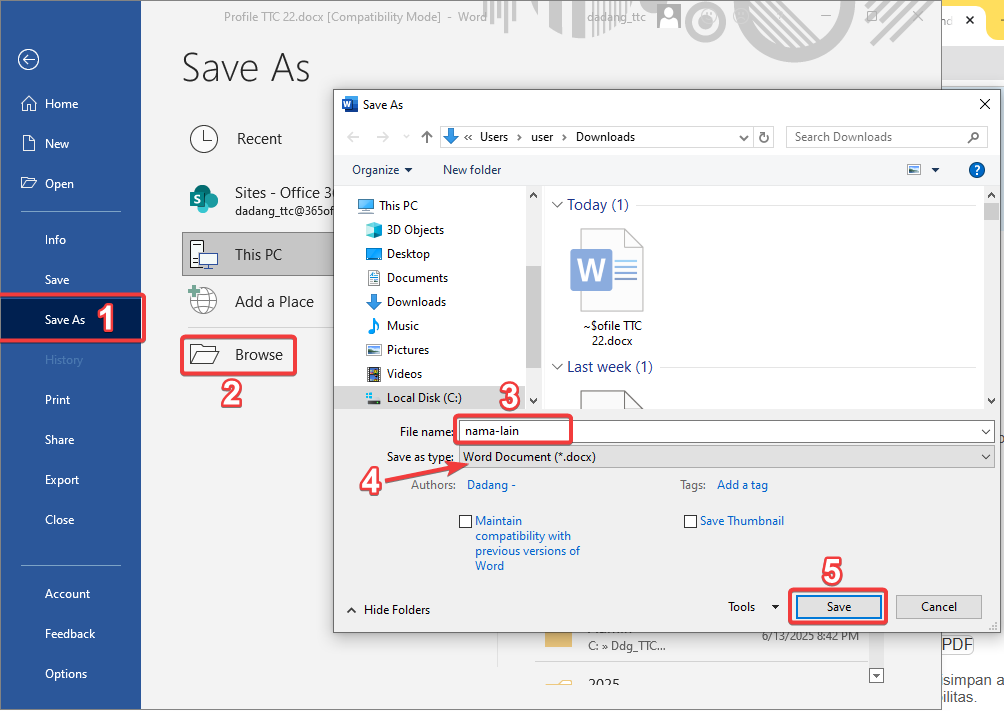
Quick & Alternative Saving Methods
- Use CTRL + S to save changes.
- Choose File > Save As to save with a new name or format.
- Common formats:
.docx(modern) or.doc(older).
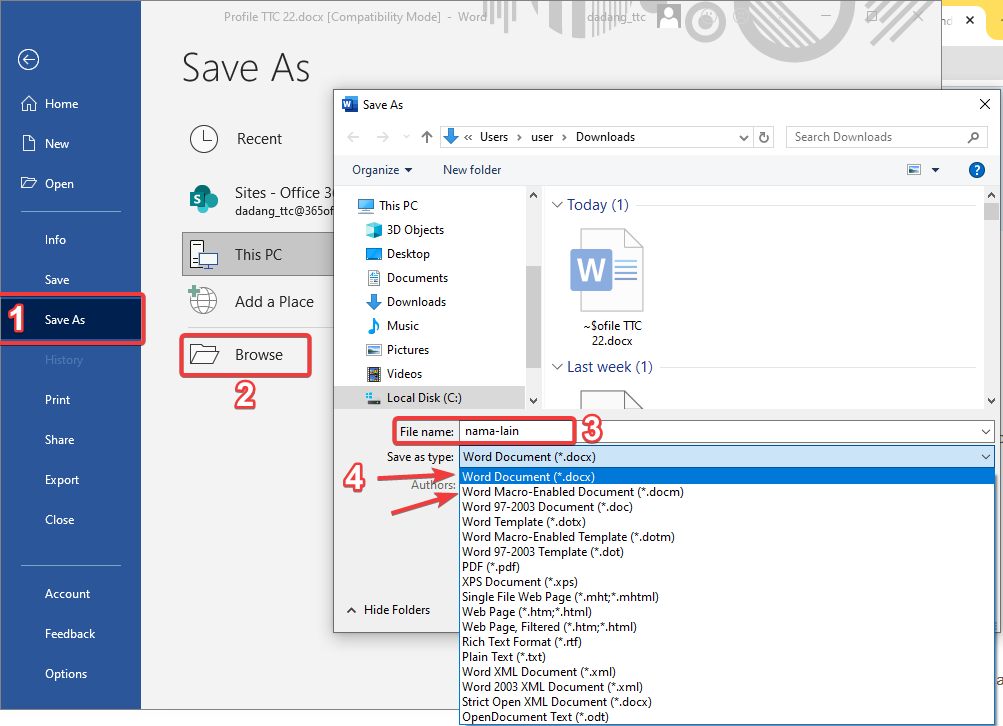
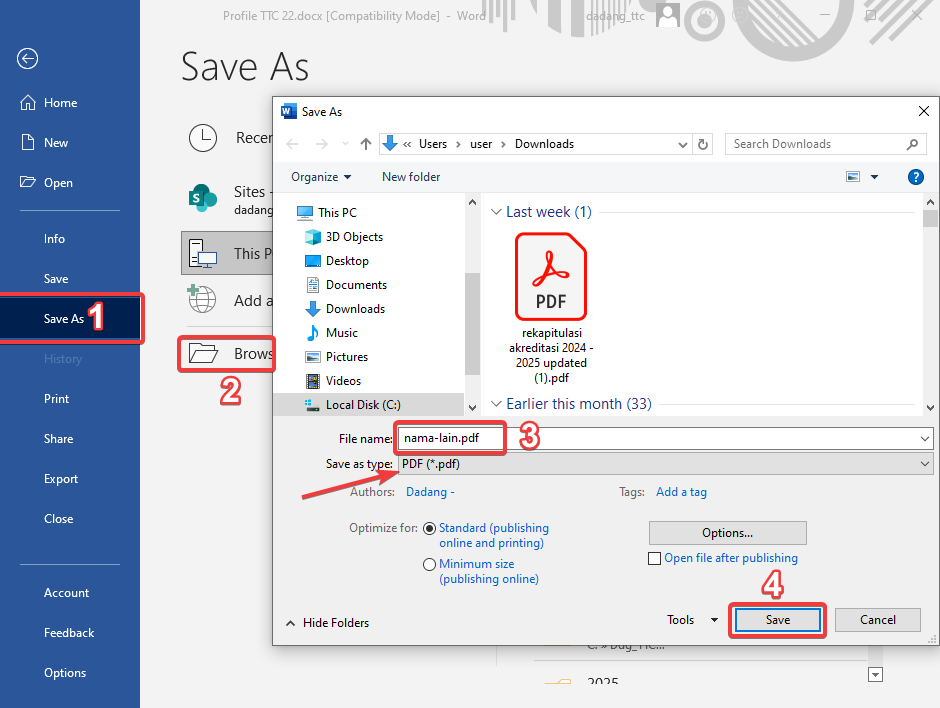
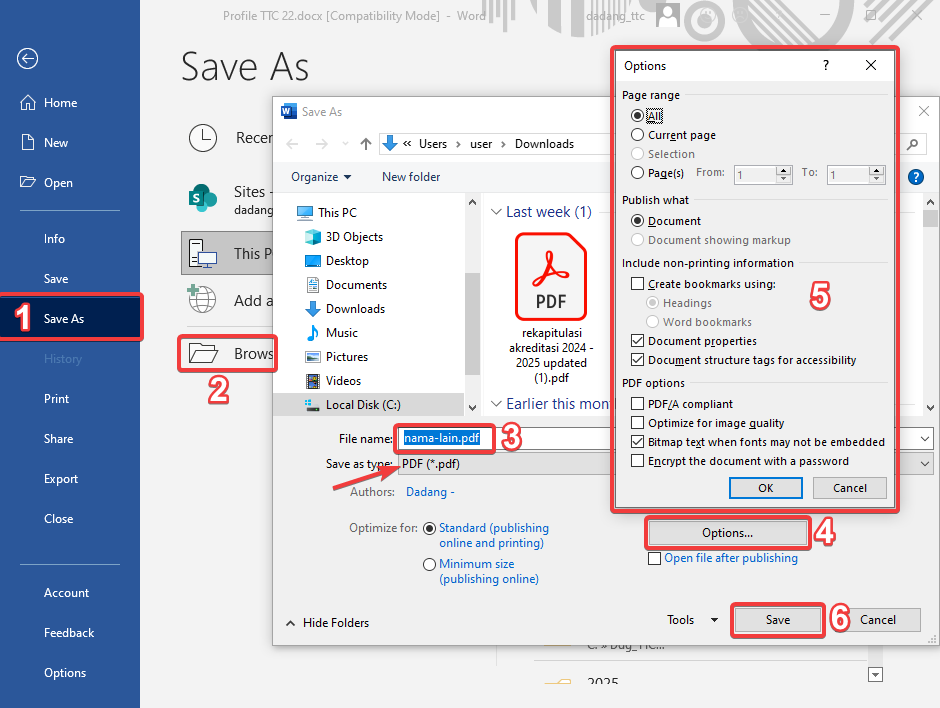
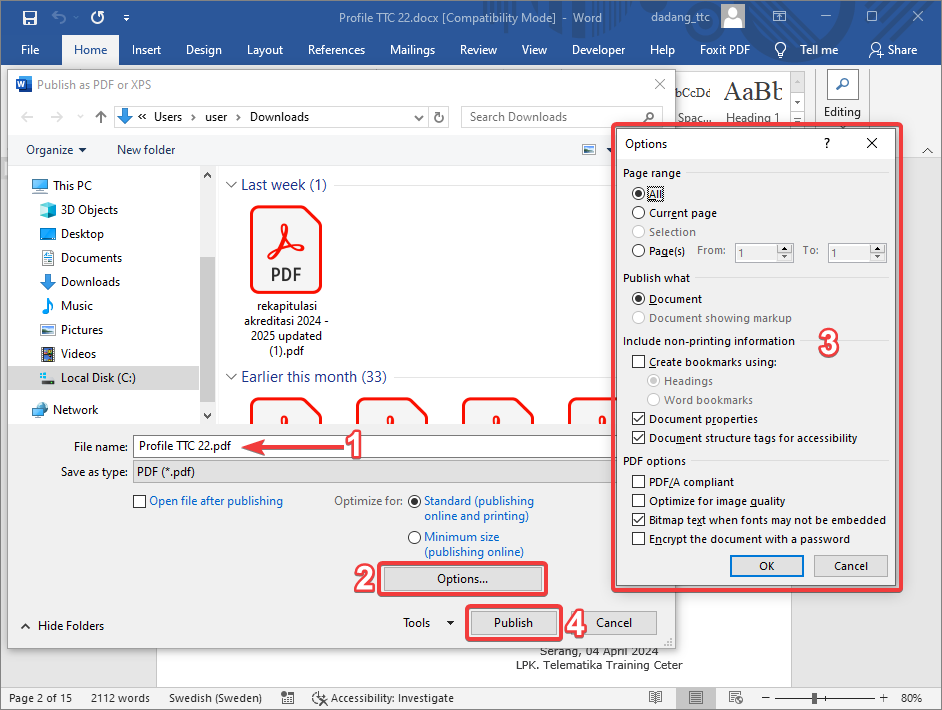
Saving as PDF and Other Formats
- Select File > Save As and choose storage location.
- In Save as type, select PDF.
- Click Options to adjust pages or PDF appearance.
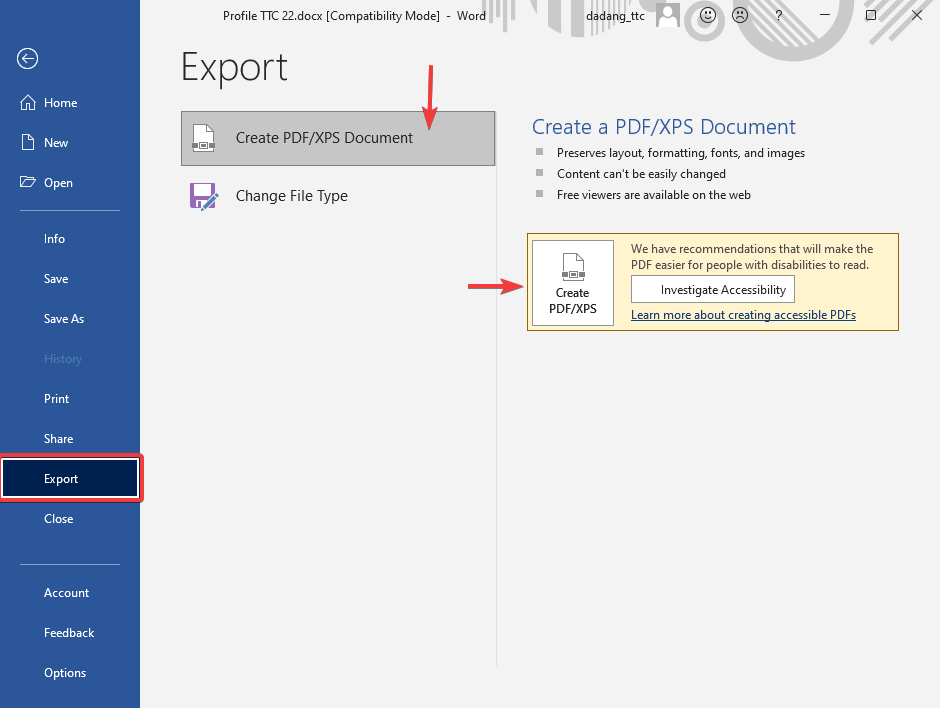
Exporting Document (Create PDF/XPS)
- Select File > Export > Create PDF/XPS Document.
- This ensures consistent output for official distribution.
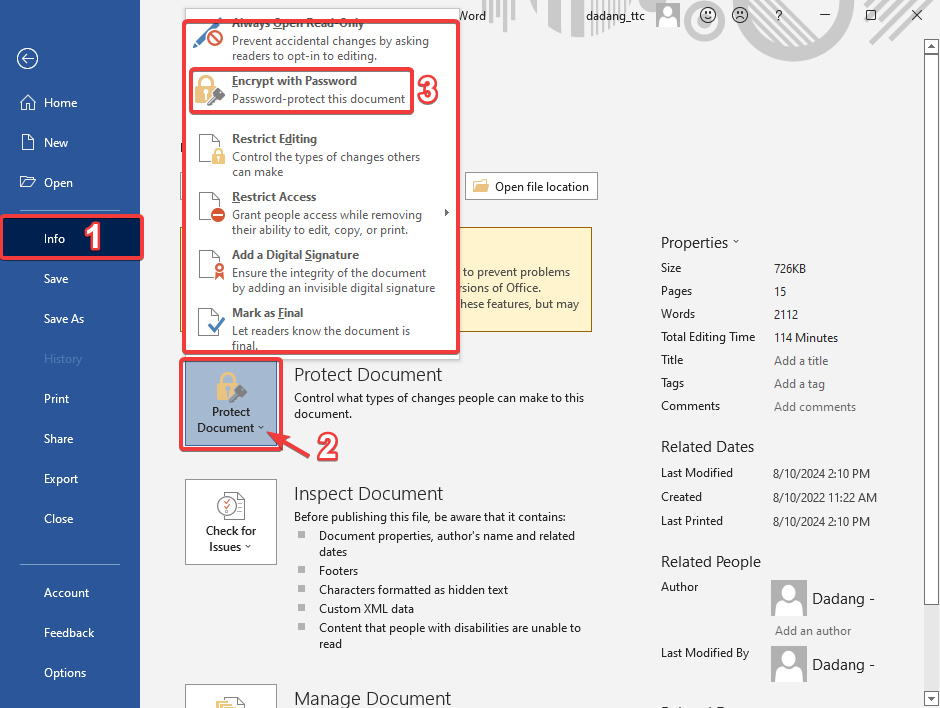
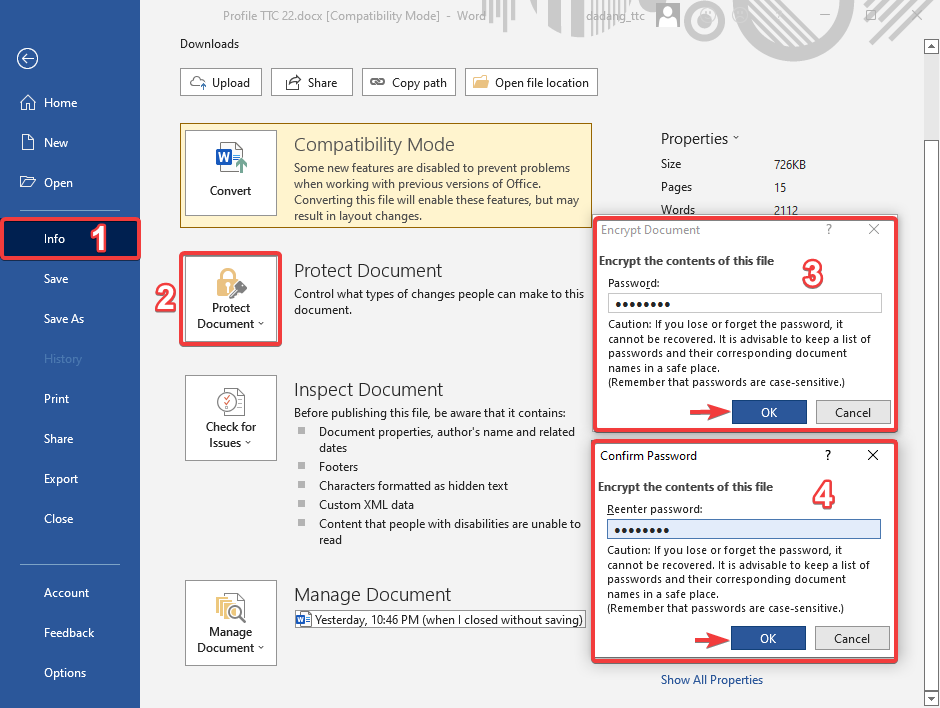
Encrypt Document (Password)
- Select File > Info.
- Click Protect Document > Encrypt with Password.
- Enter a password, then save the file.
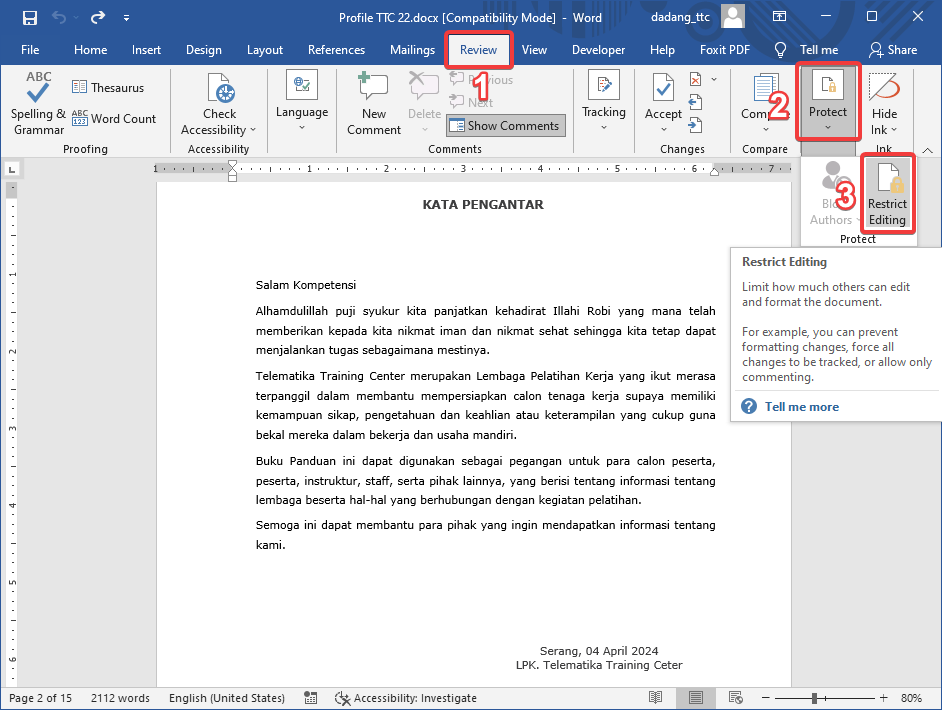
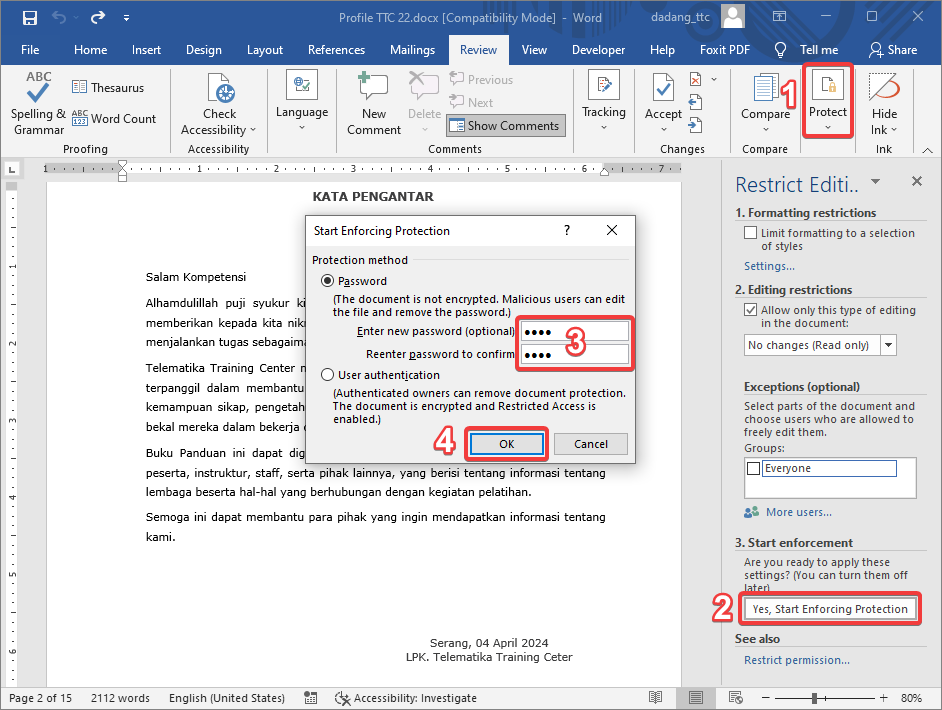
Restrict Editing (Read-Only)
- Select Review > Restrict Editing.
- Check Allow only this type of editing and choose No changes (Read only).
- Click Yes, Start Enforcing Protection.
Use clear file names like
March_Monthly_Report.docx for easy retrieval.
Conclusion
Saving and protecting documents is crucial in using Microsoft Word. By understanding saving to different formats such as .docx and PDF, and using security features like passwords and restrict editing, we can keep documents safe and professional.
Make it a habit to save work regularly and use clear file names. This helps prevent data loss and improves daily work quality.
📝 Exercise:
- Save your document as
.docx,.pdf, and.txt. - Enable password using Encrypt Document.
- Reopen the document and enter the password.
- Use Restrict Editing and check if the document can be edited.