Section 8: Creating Lists with Bullets and Numbering
⏳ Training Duration: 1.5 Hours
🎯 Level: Beginner
🧠 Method: Theory and Practice
📦 Material Format: Interactive
📌 Requirements: Basic understanding of paragraph typing
🎯 Objective: Participants are able to create bullet and numbered lists to organize information clearly.
In Microsoft Word, the Bullet and Numbering features are essential for making documents more organized, professional, and easy to read. These features are commonly used in reports, proposals, SOPs, and presentation materials.
📌 Bullets and Numbering are used to present information in list form for better readability. For example: 🛒 shopping lists, ☕ step-by-step instructions, or ✅ key points in a presentation. Simple & structured!
1. Bullet List
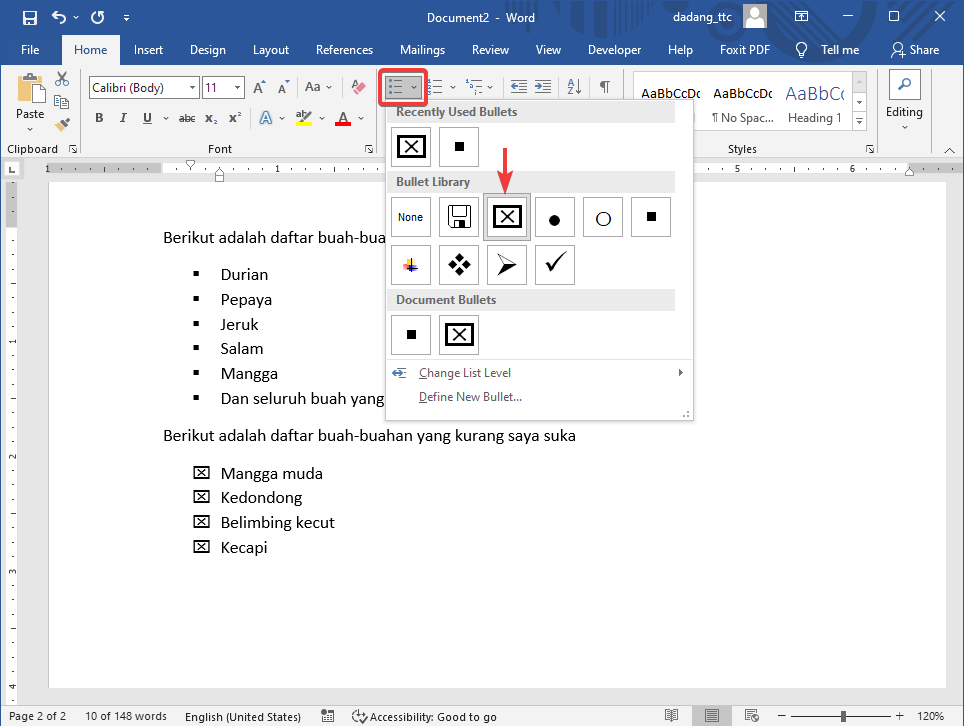
Steps to create a bullet list:
- Select the text you want to turn into a list.
- Go to the Home tab, then click the Bullet icon.
- Choose your preferred bullet style.
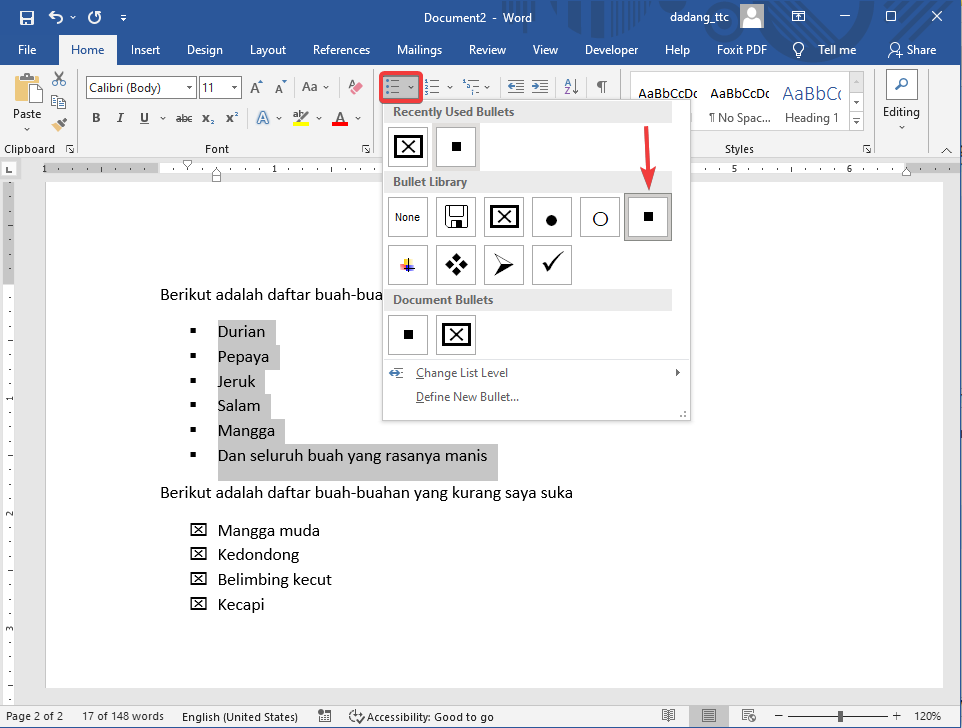
1.1 Custom Bullets (Symbols & Emoji)
Besides standard bullets (•), Microsoft Word allows you to use symbols or emoji as bullets to make your list more attractive.
How to create custom bullets:
- Select the text.
- Click the small arrow next to the Bullet icon.
- Select Define New Bullet.
- Click Symbol or Font.
- Choose a symbol or emoji, then click OK.
Example:
- ✅ Data has been verified
- 🎯 Target achieved
- 🔹 Process in progress
- ⭐ Top priority
2. Numbered List
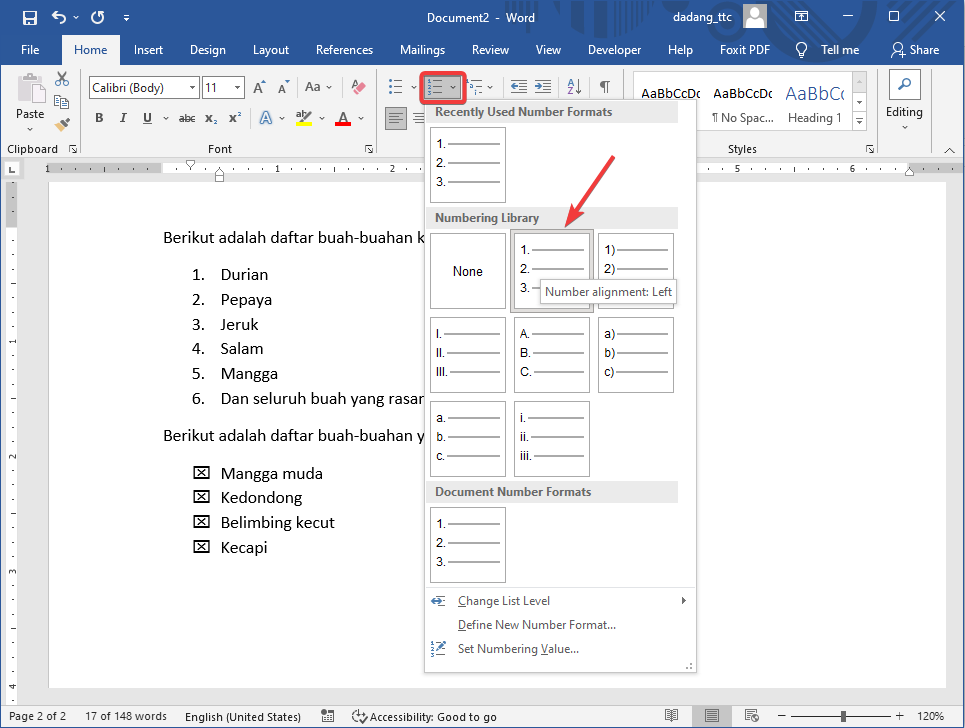
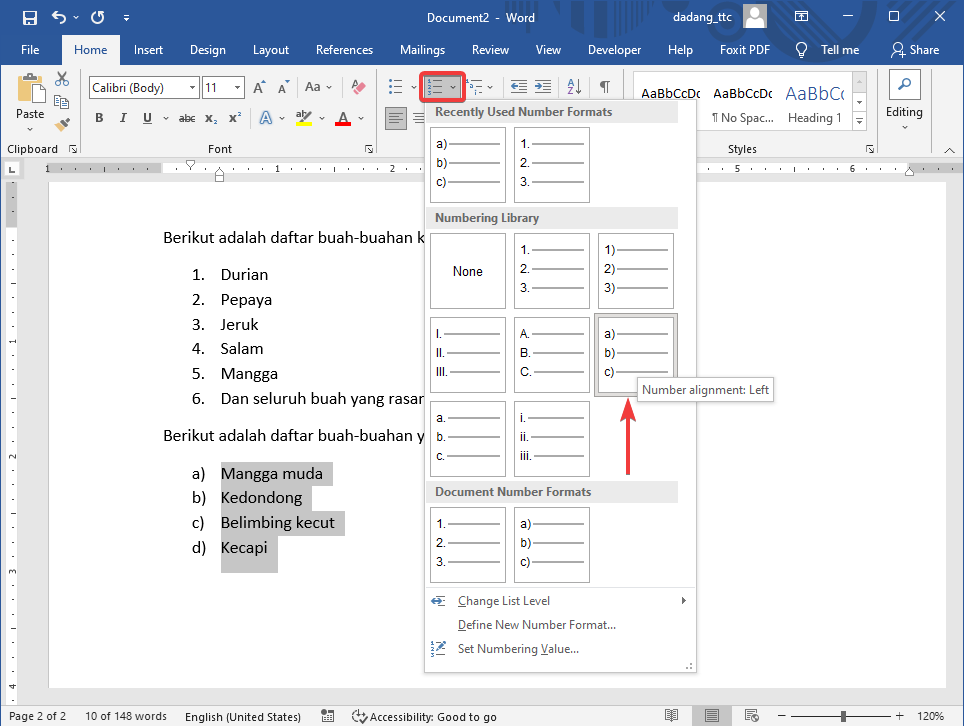
Steps to create a numbered list:
- Select the items.
- Go to the Home tab and click the Numbering icon.
- Choose a numbering format (1, 2, 3 or a, b, c).
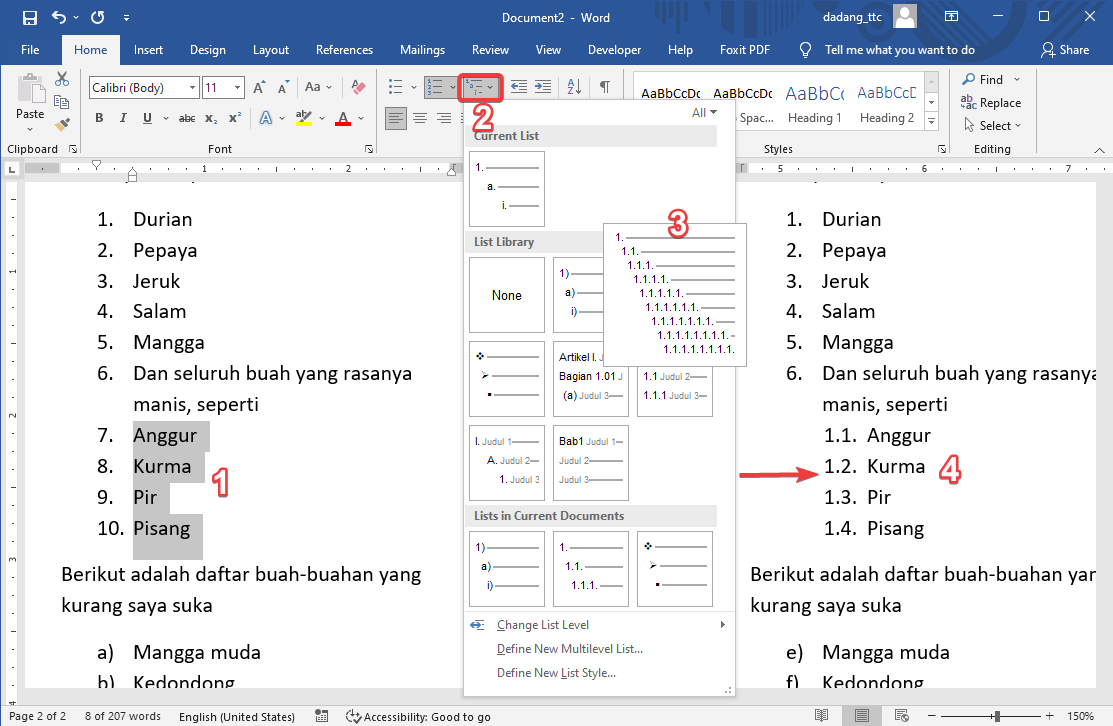
3. Managing List Levels
Word also supports multilevel lists, for example:
- Main Topic A
- Subtopic A.1
- Main Topic B
To create this, use the Increase/Decrease Indent buttons on the Home tab. Increase to go deeper (sub-level), Decrease to return to the main level.
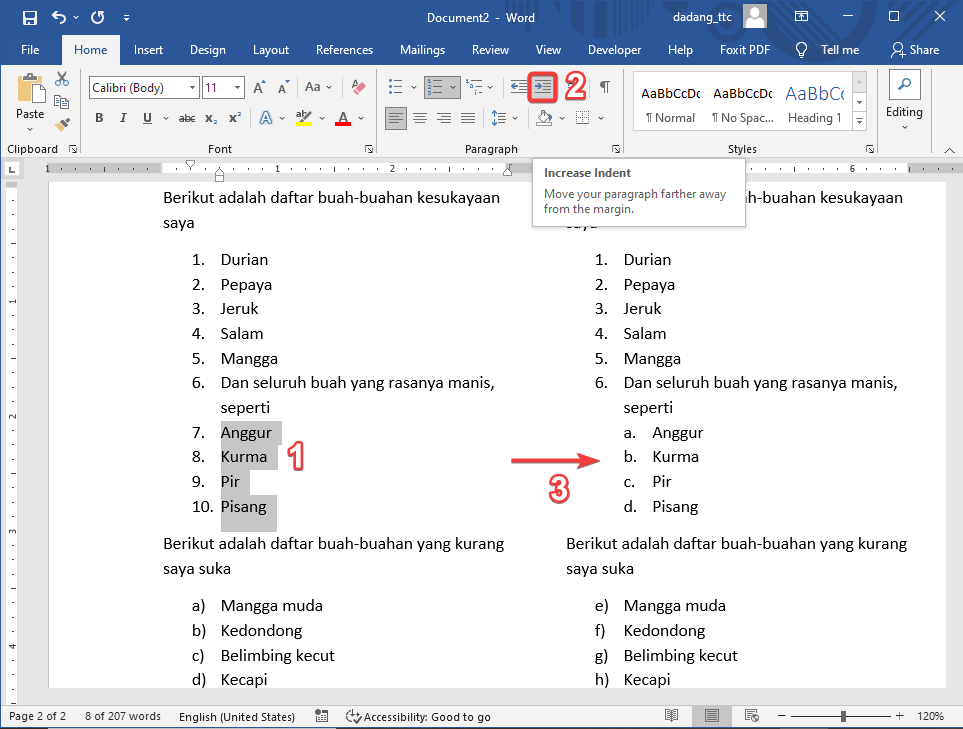
Button explanation:
- Increase Indent: Moves text to a sub-level (creates sub-points).
- Decrease Indent: Moves text back to the main level.
Example:
- Main item
- Sub item (result of Increase Indent)
4. Combining Bullets & Numbering
In documents like SOPs, guides, or instructions, combining bullets and numbering helps structure information more clearly.
Example:
- Preparation
- ✅ Glass
- ☕ Coffee powder
- 💧 Hot water
- Process
- Pour water into the glass
- Add coffee
- Stir well
This combination keeps main steps numbered while details use bullets for flexibility.
📌 Conclusion:
- Bullets are used for unordered lists such as key points or notes.
- Numbering is used for ordered steps or procedures.
- Bullets can be customized using symbols or emoji for better visual appeal.
- Multilevel lists allow more complex structures.
- Combining bullets and numbering is useful for SOPs and guides.
- Use Word features instead of manual typing for better consistency.
📝 Advanced Practice:
- 🎨 Create a list of 5 favorite colors using emoji bullets.
- 📚 Create a 4-step learning process using numbering.
- 💡 Combine bullets & numbering to create a simple SOP.
- 🔧 Change all bullets to different symbols and numbering to Roman numerals.